

Let's start with the conclusion: Facebook (Meta) ad attribution windows are set at the Ad Set level, under "Attribution Setting." The system typically recommends 7-day click or 1-day view by default. For low-ticket, impulse-purchase products, you might consider changing to "1-day click"; for regular e-commerce with longer consideration cycles, "7-day click" is generally used. Whether to add "1-day view" depends on whether you can accept inflated reported conversions. Before making changes, use the "Compare Attribution Settings" in reports to see how data differs across windows.
Here's the step-by-step process.
1. First, understand: attribution windows affect more than just reporting
Many people think of attribution windows as just a switch for how reports count conversions, but that's only half true. According to Meta's official documentation, attribution settings determine which conversions are credited to the ad and also serve as a basis for ad optimization: the system will prioritize showing your ad to people most likely to convert within your chosen time window.
So changing the attribution window is essentially changing the algorithm's optimization direction. A shorter window makes the algorithm look for people who "click and buy immediately"; a longer window makes it accept those who "buy a few days after clicking." This is why it's not recommended to use attribution windows to "make ROAS look good": the numbers change, but so might the audience you're targeting.
2. Where to set it
- Go to Ads Manager, open the campaign you want to modify, and enter the Ad Set editing page.
- Find the "Conversion" or "Performance Goal & Delivery" section.
- If you don't see "Attribution Setting" directly, click "Show More Options" under that section. The interface text may vary slightly across accounts and time periods, but look in this area.
- Choose the window combination in attribution settings, save, and publish.
Since it's set at the ad set level, different ad sets under the same campaign can use different windows. You can use this to test which window works best for your product.
3. Available windows
Common combinations under standard attribution include:
- 1-day click: Counts only conversions that occur within 1 day after clicking the ad.
- 7-day click: Counts conversions within 7 days after clicking.
- 1-day click or 1-day view: Adds "saw the ad but didn't click, converted within 1 day" to the 1-day click.
- 7-day click or 1-day view: The default recommendation in most cases.
Some video ads also support Engaged-view attribution, which counts people who watched a certain length of the video, didn't click, but later converted. This option doesn't appear for all ads; refer to what's actually shown in your dashboard.
4. How to choose based on business type
When choosing a window, start with one question: How long does it usually take for your customers to go from first seeing the ad to placing an order?
Impulse purchases, low-ticket items, flash sales: prioritize 1-day click
These products have quick purchase decisions, and most orders occur on the same day or the next day after clicking. A 1-day window can reduce mistakenly attributing "would have bought anyway" conversions to the ad, and feedback is more timely, suitable for quickly judging creative performance. The trade-off is fewer conversion samples. If your ad set already has low conversion volume, the algorithm may learn more slowly.
Regular independent e-commerce, products requiring price comparison or days of consideration: 7-day click
For categories with slightly higher ticket prices, where users add to cart and return later, or need to compare several options before ordering, a 7-day window captures these delayed conversions and provides more conversion samples for the algorithm. Most independent stores start here safely.
Whether to add "1-day view"
View attribution counts people who "saw the ad, didn't click, but bought within 1 day." Some of these people were going to buy anyway and just happened to see the ad. So adding a view window often results in higher conversion numbers and reported ROAS, but not all of it is incremental.
A practical approach:
- For stores with high brand awareness and a large share of organic traffic and repeat purchases, discount view attribution data or simply use click-only windows.
- For new brands that rely mainly on ads for acquisition, view attribution inflation is usually less severe. But when evaluating, still cross-check with your store's backend orders and external analytics data.
App promotion ads involve separate attribution mechanisms like Apple's SKAdNetwork, with different windows and postback rules from website conversions. This article won't cover that; refer to Meta's official documentation.
5. Compare with reports before making changes
Don't change based on gut feeling. Ads Manager reports can break down conversions for the same ads under different windows:
- In Ads Manager reports, click the "Columns: Performance" dropdown.
- Scroll to the bottom and select "Compare attribution settings".
- Check the windows you want to compare, such as 1-day view, 1-day click, 7-day click, and optionally 28-day click.
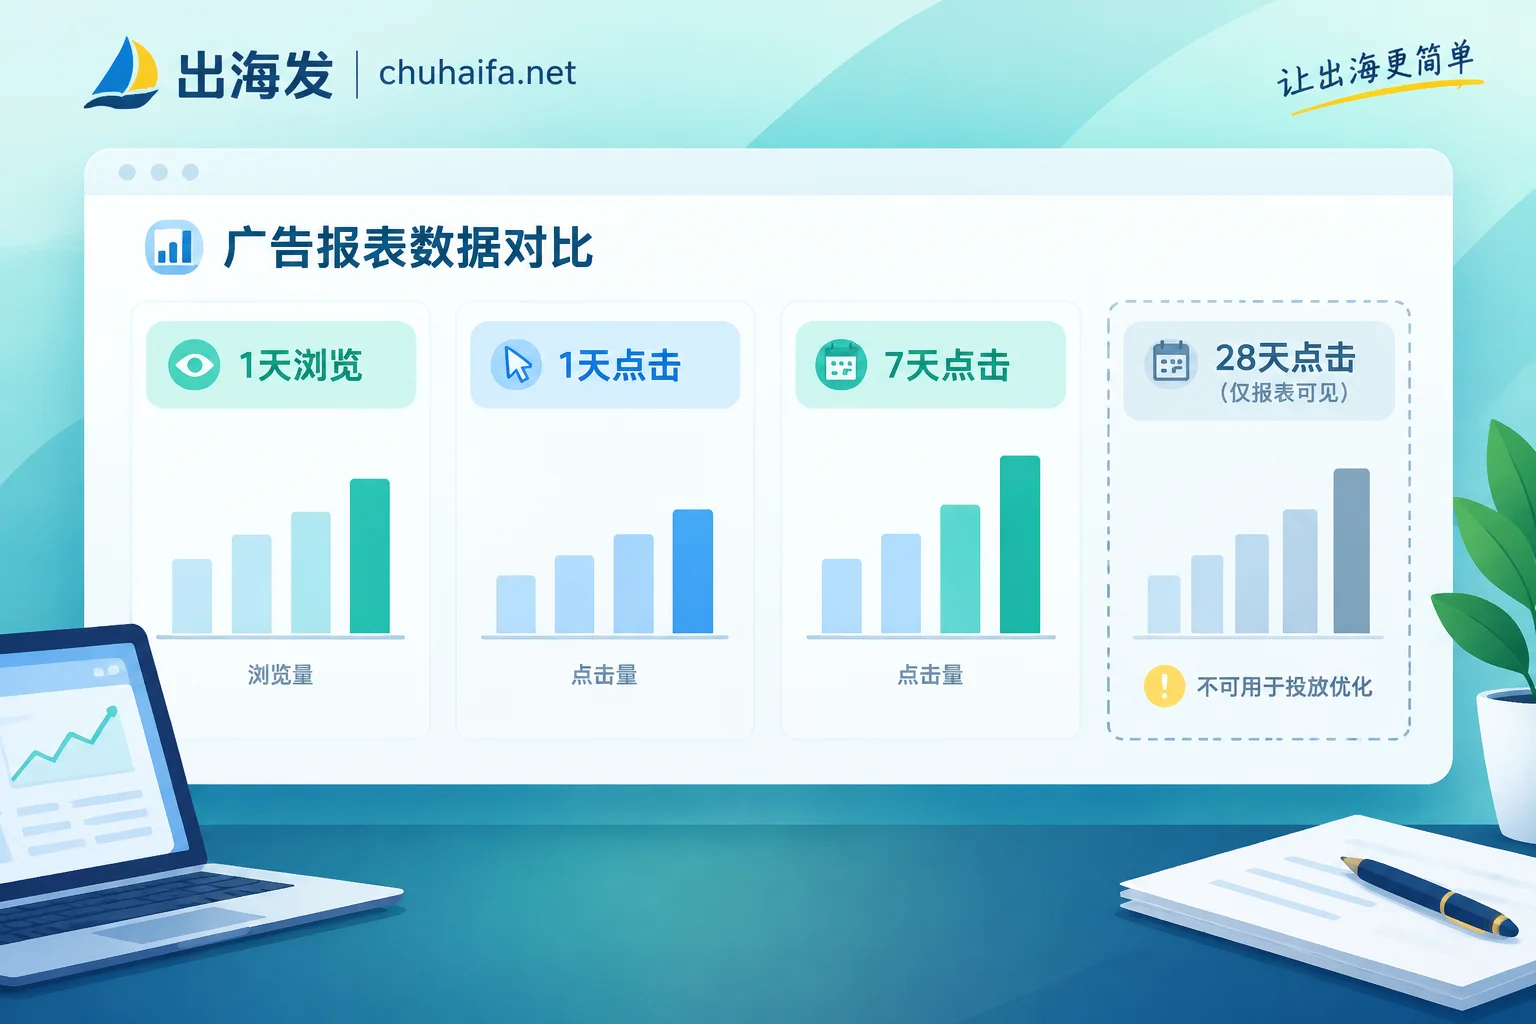
When looking at this data, focus on three things:
- How much do 1-day click and 7-day click differ? A small difference means most customers order the same day, so switching to a 1-day window won't have much impact. A large difference means a high proportion of delayed conversions, so switching to 1-day will significantly undercount.
- How much does view attribution contribute? If view conversions are high but your store's backend orders haven't increased correspondingly, reported ROAS may be inflated.
- 28-day click is for viewing only, not selectable: It only appears in report comparisons and cannot be used as an ad set optimization window. It's useful for understanding delayed conversions for long decision-cycle products.
If the conversion numbers in Ads Manager differ greatly from your store's backend orders, don't blame the attribution window first. Tracking issues are also common, such as duplicate event reporting or only having Pixel without CAPI. You can troubleshoot in order with these two articles: What to Do When Facebook Ad ROAS Doesn't Match Backend Orders, Should You Use Facebook Pixel and CAPI Together?.
6. Common pitfalls
- Don't change back and forth frequently: The window affects the algorithm's optimization direction, and repeated adjustments make data hard to compare. For testing, set different ad sets separately and run for a while before comparing.
- Unify windows before comparing across ad sets: One using 7-day click plus 1-day view and another using only 1-day click cannot be directly compared for ROAS.
- State the definition clearly in internal reports: Weekly reports should specify which attribution window was used for conversions and ROAS; otherwise, it's easy to misinterpret when someone else takes over.
Next step: Set up your data verification tools
After setting attribution windows, daily work mainly involves "reconciling numbers": cross-validating Ads Manager data with your store backend and third-party analytics. If you still need ad dashboards, attribution analysis, or campaign management tools, browse the Advertising Tools category to pick what you need. For store backend and order data tools, check the Cross-border E-commerce category. For specific features and pricing, refer to each tool's official website.